Windows 7 was released by Microsoft in 2009. It was a successor to Windows Vista and was widely considered a major improvement over its predecessor. While Microsoft no longer supports Windows 7, it is still possible to install it on old or new PC we’ll learn How to perform Windows 7 Installation from USB step by step, and click here to check how to download and upgrade to Windows 7 service pack 1.
- Windows 7 prerequisites:
- 1. Prepare Your Computer
- 2: Obtain a Copy of Windows 7
- To change the boot setting on BIOS there is some step.
- 4. To Do Windows 7 Installation.
- 5. Create a Partition to install the OS.
- 6. Enter the Product Key
- 7. Complete the Installation Process.
- 8. Configure Windows 7.
- Conclusion
- Frequently Asked Questions:
Windows 7 prerequisites:
- Need 1GB RAM (32-bit) or 2 GB RAM for 64-bit.
- Minimum 16 GB Available hard disk space for 32-bit or 20 GB for 64-bit.
- DirectX 9 graphics device with WDDM 1.0 or higher driver.
- Minimum 1 GHz or faster 32-bit (x86) or 64-bit (x64) processor.
1. Prepare Your Computer
To do Windows 7 Installation, you must purchase a copy of the operating system and a valid product key. but we can download it from the Internet is available for a trial of 30 days. need to download the Windows 7 USB/DVD download tool You will also need to create a bootable installation media from the installation files, such as a DVD or USB drive.
You can make bootable USBs from ISO packages in a number of ways, but the easiest method I found is RUFUS which is entirely free and easy.
To Download Rufus here
If your computer or laptop doesn’t come with a DVD Writer, you will need a Pen drive or an External DVD Drive to boot.(A USB flash drive with at least 4 GB of storage, or a blank DVD)
2: Obtain a Copy of Windows 7
Download Windows 7 ISO file, to get this file Click here to download.
- Open Rufus and select your USB drive from the Device drop-down menu.

- Click the SELECT button and browse to the location of the Windows 7 ISO file.

(Make sure the “Create a bootable disk using” option is set to ISO Image).
- Click the START button to begin the creation process.
Now the flash drive is ready to boot and start the installation.
For a brand new PC, Before starting the installation To boot from a USB drive, you will need to change the boot order in your computer’s BIOS or UEFI settings. The exact steps to do this will vary depending on your specific computer, but here is a general outline of the process.
To change the boot setting on BIOS there is some step.
Restart your computer and press the appropriate key to enter the BIOS or UEFI settings. This key is usually displayed on the boot screen and maybe a BIOS function key (F2, F10, F12, etc.) directly to the boot menu (F12, F8, etc.) I have mentioned the list of brands with their specific key.

Locate the boot order or boot priority settings and change the order to prioritize the USB drive.

3. Boot from the Installation Disc or USB
As per instruction given Press a any key on your keyboard to boot from USB or CDROM.

After pressing the key Computer will boot from the USB drive. files will be loading wait for the Windows 7 installations screen.

Now we have to follow the on-screen prompts to begin the installation process.
4. To Do Windows 7 Installation.
Now installation process has started you have to follow the on-screen instructions to install Windows 7 on your screen.
I have followed the best standard practice to get better reliable installation ( not follow the proper installation procedure can make trouble in OS (i have discussed of some of bad practices of installation and what are the bad effect to the OS please click the link to read the article).
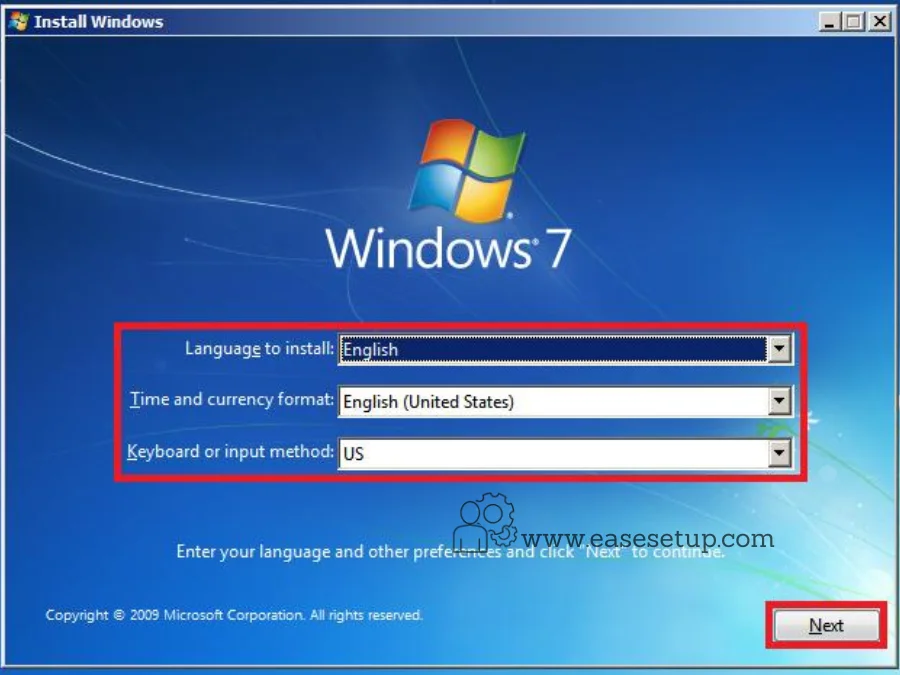
Chose your preferred language, time and Keyboard format and click Next
Click Install Now to start the installation

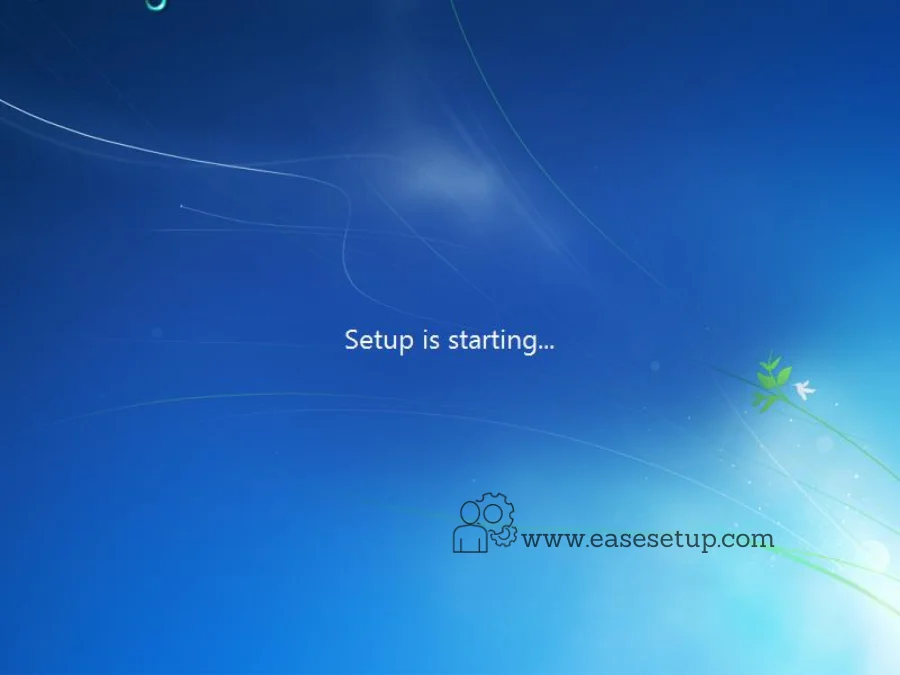
Now Setup will start automatically and wait till the next screen comes.
Choose your preferred edition to install and Click Next (make sure the same license key is with you)
there are two types of options available x64 is for 64-bit and x86 is for 32-bit select any one and make sure 2 GB is installed in your computer if you are choosing 64-bit and 32-bits requires only a minimum of 1 GB.
I have discussed in detail on TOP making sure to read the article properly without missing any step.

There is two option available you can choose upgrade at the time of upgrade of exiting OS i have discussed a topic how to upgrade the windows XP to windows 7 please click here to know more.
In our case, we need a clean Installation select Custom(advanced)

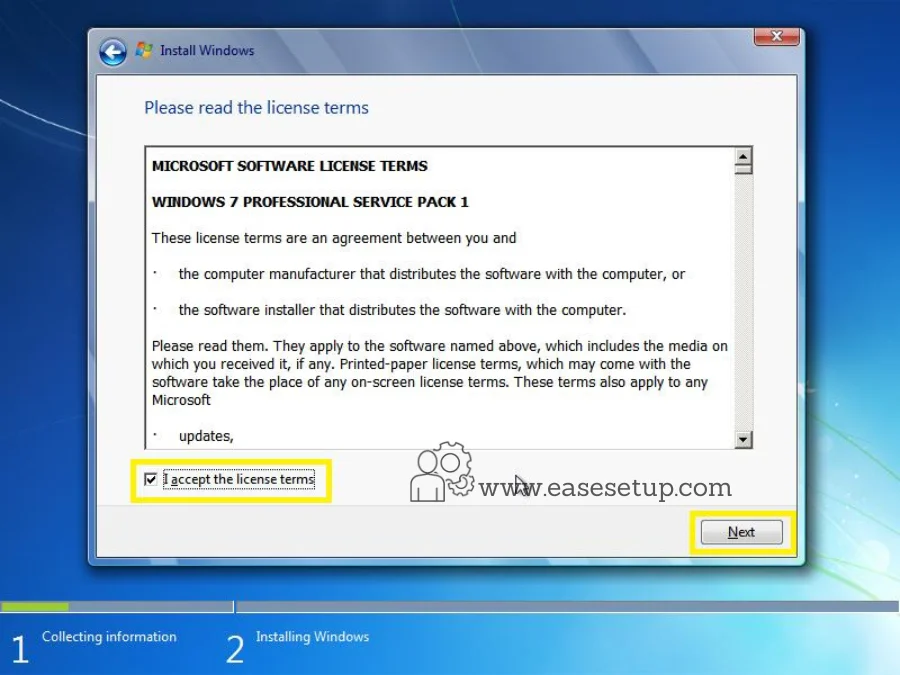
Tick on
I accept the License terms
and Click “Next”
This can be a little tricky when you are choosing a proper drive or proper partition please make sure if you are installing OS in an Exiting OS disk. I have discussed the best practice for disk partitioning please click here to check the article.
5. Create a Partition to install the OS.
In the current scenario, we have a fresh empty Disk Click on the Drive options to select the size.

Creating a new partition is as simple as clicking “New“. Otherwise,
To continue, click “Next“
(Better to have a separate drive for your new OS)

Click “Apply” after specifying the new partition’s size

Click “OK”

In this picture, Disk 0 Partition 2 is a newly created partition.
When we specified a certain space during the previous step, Windows will automatically assign 100MB to be reserved for the system marked as Partition 1
Hence you will see the remaining space in Partition 2
If you are using a hard drive that has a large storage volume, you can create more partitions.

Choose your desired partition after the All partition process is complete, and click “Next”.
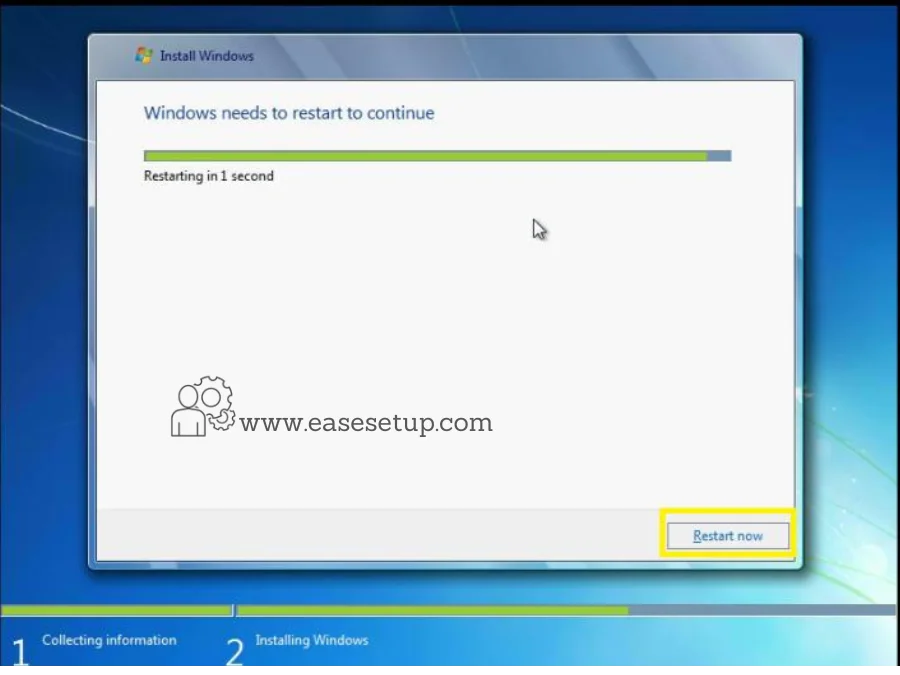
Let’s complete the installation Automatically.


You can click Restart now or it will automatically restart


6. Enter the Product Key
Enter the Valid Product Key to activate or to get a 30 days trial you can skip or Click “next”

Now the system will be prepared for first use.

7. Complete the Installation Process.
Enter the Username

As I have to give a name as “test” you can give any computer name will be written automatically.

Enter a specific password or leave it blank for no password

8. Configure Windows 7.
Choose the “Use Recommended settings”
to get “Windows update” by default please select this option.

Select the preferred time zone, date, and time


Choose the preferred Network ( this option shows only if the network is connected to the internet)


After all processes, OS will start the process to start the desktop.


Once the Windows 7 desktop shows, the installation is complete and ready to use

Conclusion
Windows 7 Installation with a USB drive is a fast and convenient way to perform a clean installation. With this comprehensive guide, you should now have the knowledge to prepare your USB drive and perform a Windows 7 installation with it. If you follow the steps carefully, you should have a working Windows 7 installation in no time.
Frequently Asked Questions:
Q: What is the minimum system requirement for Windows 7?
A: Windows 7 requires at least a 1 GHz processor, 1 GB of RAM, and 16 GB of hard drive space.
Q: Can I use a USB drive with less than 4 GB of space to perform a Windows 7 installation?
A: No, you need at least a 4 GB USB drive to perform a Windows 7 installation.
Q: Can I use a USB 3.0 drive for the Windows 7 installation?
A: Yes, you can use a USB 3.0 drive.


